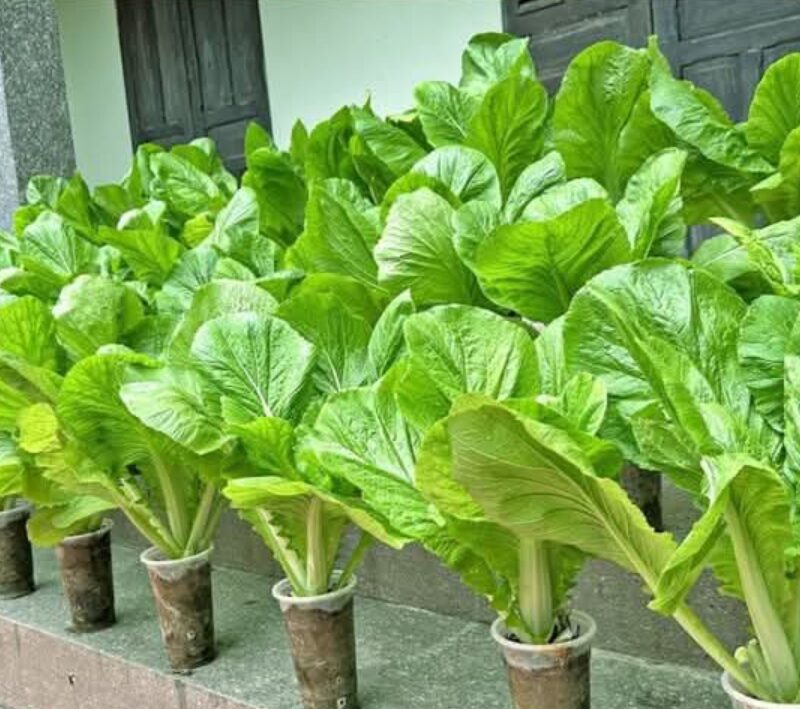
Turning recycled plastic bottles into a self-watering gardening system is an eco-friendly way to grow fresh vegetables at home. This method not only reduces waste but also simplifies plant care, making it perfect for beginners and busy gardeners. Here’s a detailed guide to setting up and maintaining your bottle-based self-watering garden.
—
Why Use Recycled Plastic Bottles for Gardening?
1. Sustainability: Reusing plastic bottles reduces waste and minimizes environmental impact.
2. Water Efficiency: The self-watering mechanism ensures plants get just the right amount of water, reducing wastage.
3. Cost-Effectiveness: This method uses readily available materials, making it an affordable gardening solution.
4. Space-Saving: Perfect for small spaces like balconies or window sills.
5. Easy Maintenance: The self-watering system reduces the need for frequent watering, making it ideal for busy schedules.
—
Materials You’ll Need
To get started, gather the following items:
Empty plastic bottles (1- or 2-liter bottles are ideal)
Sharp knife or scissors
Potting soil
Seeds or seedlings (e.g., lettuce, spinach, herbs)
Water
Optional: Paint or decorative tape for customizing bottles
—
Step-by-Step Guide
1. Prepare the Plastic Bottles
1. Cut the Bottle: Using a sharp knife or scissors, cut the plastic bottle horizontally into two parts:
Bottom Half: This will serve as the plant container.
Top Half: This will act as the water reservoir.
2. Smooth the Edges: To avoid injuries, smooth the cut edges with sandpaper or by gently heating them.
2. Create the Wicking System
1. Modify the Bottle Cap: Remove the bottle cap from the top half and make small holes or slits around its edges.
2. Attach a Wick (Optional): For better water absorption, insert a strip of cotton cloth or rope through the cap hole. The wick will draw water into the soil.
3. Assemble the Self-Watering System
1. Fill the Bottom Half with Soil: Add potting soil to the bottom half of the bottle, leaving some space at the top for planting.
2. Plant Seeds or Seedlings: Sow seeds or transplant seedlings into the soil. Compact the soil gently to ensure good contact with the wick or water source.
3. Insert the Reservoir: Place the top half of the bottle upside down into the bottom half, with the modified cap submerged in the soil.
4. Add Water
1. Fill the inverted top half with water, ensuring the wick or cap holes are in contact with the soil.
2. Check that the water level is sufficient and that it doesn’t overflow.
5. Position Your Garden
1. Place the bottle system in a location with adequate sunlight.
2. Avoid direct exposure to harsh weather conditions like heavy rain or strong winds.
—
How It Works
The self-watering system relies on capillary action, where the soil draws up water from the reservoir as needed. This ensures that plants receive a steady supply of moisture without overwatering. The system also minimizes water loss due to evaporation.
—
Benefits of This Gardening Method
1. Reduces Water Usage: Only the necessary amount of water is used, making it highly efficient.
2. Low Maintenance: You only need to refill the water reservoir occasionally.
3. Encourages Recycling: Gives a second life to discarded plastic bottles.
4. Improves Plant Growth: Consistent moisture levels promote healthier and faster-growing plants.
5. Adaptable for Various Plants: Suitable for growing herbs, leafy greens, and small vegetables.
—
Tips for Success
1. Choose the Right Plants:
Ideal for plants with shallow root systems, such as lettuce, herbs (basil, parsley, cilantro), spinach, and strawberries.
Avoid using this method for deep-rooted plants like tomatoes or carrots.
2. Monitor Water Levels:
Refill the water reservoir before it runs dry. Check every few days, depending on the weather and plant water needs.
3. Prevent Algae Growth:
If exposed to sunlight, water in the reservoir may encourage algae growth. Wrap the bottle in aluminum foil or paint it to block light.
4. Use Quality Soil:
Choose potting soil with good drainage properties to prevent waterlogging.
5. Customize for Larger Plants:
Use larger bottles or connect multiple bottles for plants with higher water demands.
—
Creative Variations
1. Hanging Gardens:
Create vertical gardens by stacking multiple bottle systems. Attach them to walls or fences for a space-saving solution.
2. Decorative Planters:
Decorate the bottles with paint, tape, or stickers to enhance the aesthetics of your garden.
3. Herb Kits for Gifts:
Assemble mini herb gardens in bottles and gift them to friends or family.
—
Environmental Impact
By using recycled plastic bottles, you contribute to:
Reducing Plastic Waste: Preventing bottles from ending up in landfills or oceans.
Conserving Resources: Minimizing water use and promoting sustainable gardening practices.
Raising Awareness: Inspiring others to adopt eco-friendly habits.
—
Conclusion
Recycling plastic bottles into self-watering planters is a simple yet impactful way to grow vegetables at home. This sustainable gardening technique not only benefits the environment but also makes gardening accessible to everyone, regardless of space or experience. Start your own bottle garden today and enjoy fresh, homegrown vegetables while making a positive impact on the planet!
