How to Make Liquid Fertilizer at Home: Step-by-Step Guide for Gardeners
Introduction: Why Choose Homemade Liquid Fertilizer?
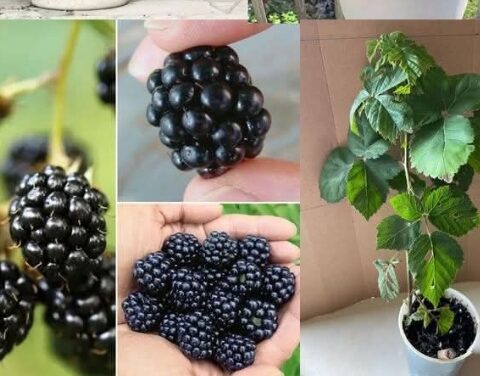
In today’s eco-conscious gardening world, more people are turning to DIY solutions to nourish their plants naturally. One of the most effective and sustainable choices is homemade liquid fertilizer. It transforms organic waste into a powerful nutrient-rich tonic that promotes plant health, saves money, and helps reduce household waste.
Unlike chemical fertilizers that may damage soil health over time, liquid organic fertilizers offer a natural, slow-release solution packed with beneficial microbes and nutrients. In this comprehensive guide, you’ll learn how to make your own at home using simple ingredients and a straightforward fermentation process.
Let’s get started!
Materials You Will Need
Before you begin, gather the following:
Organic Waste
Green waste: Grass clippings, fresh leaves, green kitchen scraps
Brown waste: Dried leaves, shredded paper, sawdust (optional for balance)
Kitchen scraps: Fruit and veggie peels, coffee grounds, eggshells, leftover rice
Equipment
A large plastic drum or container (with a loose-fitting lid)
Water (preferably rainwater or dechlorinated)
Stirring stick or paddle
Cloth or mesh (for straining)
Empty bottles or jugs for storage
> Tip: Avoid meats, dairy, and oily foods—they attract pests and slow down fermentation.
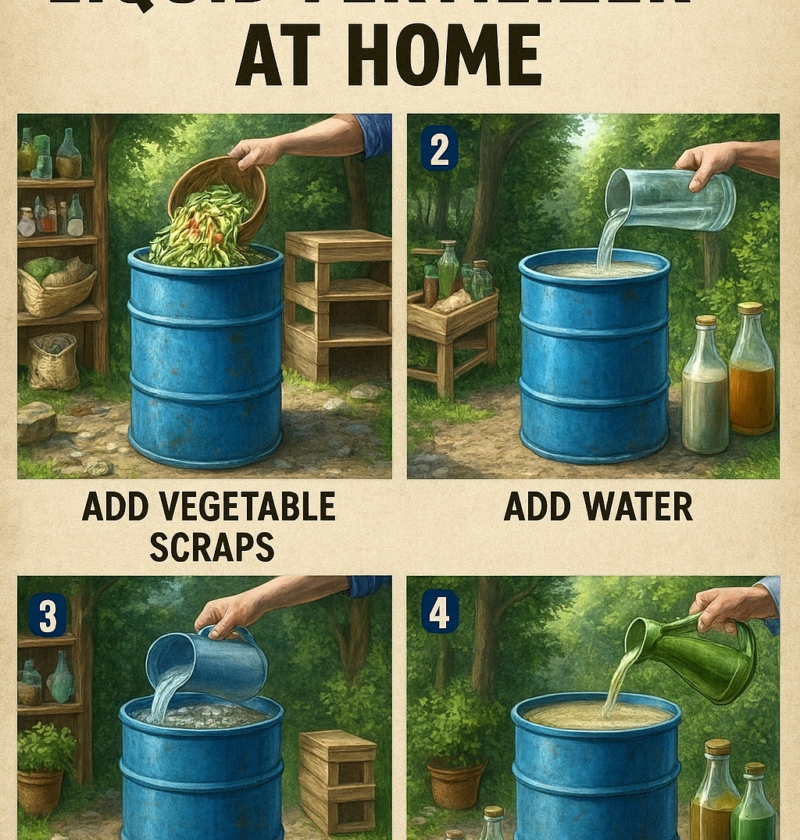
Step 1: Preparing the Fertilizer Mixture
1.1. Add Organic Material
Fill your container halfway with chopped or crushed plant waste and kitchen scraps.
Smaller pieces break down faster, so chop large peels or leaves.
1.2. Add Water
Pour water into the container until it fully submerges the waste.
Leave space at the top of the drum to prevent overflow during fermentation.
1.3. Stir Thoroughly
Mix everything well using a long stick.
Stirring introduces oxygen and encourages microbial activity.
> Optional Add-Ins: A few tablespoons of molasses or old compost will help jumpstart the microbial process.
Step 2: Fermentation Process
Fermentation is the key to turning your mixture into a nutrient-rich liquid fertilizer.
2.1. Cover the Container
Use a loose-fitting lid or cloth to cover.
This allows gases to escape while keeping pests out.
2.2. Choose the Right Location
Place the container in a shaded area to avoid overheating.
Ensure it’s protected from rain and direct sunlight.
2.3. Let It Ferment
Allow the mixture to ferment for 2 to 3 weeks.
Stir every 2 to 3 days to circulate nutrients and speed up decomposition.
You’ll notice bubbling and a strong odor—that’s a good sign of active microbes.
> Note: In cooler weather, fermentation may take up to 4 weeks.
Step 3: Straining and Storing
After fermentation, it’s time to extract your liquid fertilizer.
3.1. Strain the Liquid
Use a mesh strainer, cloth, or old t-shirt to separate the solids from the liquid.
Collect the filtered liquid in clean bottles or jugs.
3.2. Store Properly
Label your containers and store them in a cool, dark place.
Use within 3 months for best results.
You can reuse the leftover solids in your compost pile!
> Safety Tip: Always dilute before using on plants to avoid root burn.
Step 4: Applying the Fertilizer
Your DIY liquid fertilizer is now ready to feed your plants!
4.1. Dilution Ratio
Mix 1 part fertilizer to 10 parts water (1:10 ratio).
For sensitive plants, dilute further (1:15 or 1:20).
4.2. How to Apply
Soil drench: Pour around the base of plants.
Foliar spray: Apply directly to leaves for a quick nutrient boost (use fine mesh filter).
4.3. Best Time to Apply
Early morning or late afternoon to avoid evaporation and leaf burn.
Once every 1–2 weeks during the growing season.
> Pro Tip: Test on one plant before widespread use to check for sensitivity.
Benefits of Homemade Liquid Fertilizer
Cost-effective: Uses food scraps and yard waste you already have.
Eco-friendly: Reduces landfill waste and chemical runoff.
Boosts soil health: Rich in microbes and nutrients.
Improves plant growth: Encourages root development and flowering.
Common Mistakes to Avoid
Using containers with no airflow (risk of anaerobic rot).
Including meat or dairy (causes bad odor and contamination).
Applying undiluted fertilizer (can harm plants).
Ignoring stirring (slows fermentation and nutrient release).
FAQs
Can I use rainwater to make liquid fertilizer?
Yes! Rainwater is ideal because it lacks chlorine that can kill beneficial microbes.
Does the mixture always smell bad?
Some odor is normal, but if it smells rotten or like sewage, it may be anaerobic. Add more browns or stir more frequently.
Can I store it for more than 3 months?
It’s best used fresh. Over time, nutrients break down, and microbial activity slows.
What plants benefit the most?
Vegetables, fruit trees, flowers, and shrubs all benefit, especially during active growth.
Conclusion: Nourish Your Garden Naturally
Making your own liquid fertilizer is simple, rewarding, and incredibly beneficial for your garden. With just a few ingredients and a little time, you can create a potent, all-natural plant booster that supports healthy soil, vibrant blooms, and sustainable gardening practices.
So don’t toss your scraps—turn them into gold for your garden!