Special Fruit Pavé: A Delicious and Refreshing Dessert 🍓🍍🍊
Introduction
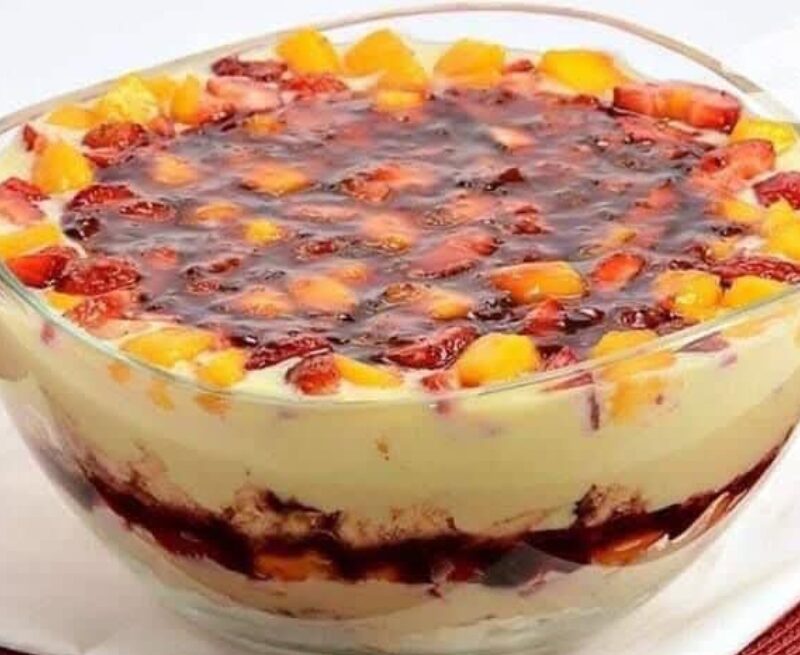
Fruit pavé is a light, refreshing, and easy-to-make dessert that combines layers of creamy filling, fresh fruits, and a soft biscuit base. Perfect for hot summer days, special occasions, or whenever you crave a sweet yet fruity treat!
This no-bake dessert is versatile, allowing you to mix and match your favorite fruits. Whether you prefer the sweetness of strawberries, the tang of pineapples, or the tropical flair of mangoes, this recipe will satisfy your sweet tooth!
—
Table of Contents
1. Why You’ll Love This Recipe
2. Key Ingredients & Their Benefits
3. Essential Kitchen Tools
4. Step-by-Step Recipe
5. Expert Tips for the Perfect Pavé
6. Flavor Variations & Customizations
7. How to Store & Serve
8. FAQs About Fruit Pavé
9. Final Thoughts & Call to Action
—
1. Why You’ll Love This Recipe
✔ No-Bake: No oven needed!
✔ Light & Refreshing: Perfect for summer.
✔ Customizable: Use any fruit you love!
✔ Make-Ahead Friendly: Tastes even better after chilling.
✔ Kid-Friendly: A great way to introduce more fruit into their diet!
—
2. Key Ingredients & Their Benefits
🌿 Base Layer (Biscuits or Cake)
✔ Provides a soft and slightly crunchy texture.
✔ Soaks up the creamy filling for a melt-in-your-mouth experience.
🍓 Fruits (Strawberries, Pineapple, Mango, Bananas, etc.)
✔ Rich in vitamins, fiber, and antioxidants.
✔ Adds natural sweetness and a fresh flavor.
🥛 Creamy Layer (Condensed Milk, Heavy Cream, or Cream Cheese)
✔ Creates a rich and smooth texture.
✔ Enhances the flavor with a slight sweetness.
🍯 Sweetener (Honey, Sugar, or Maple Syrup – Optional)
✔ Adjust the sweetness according to your preference.
🥄 Gelatin or Cornstarch (For Thickening)
✔ Helps the pavé set properly.
✔ Ensures a silky-smooth consistency.
—
3. Essential Kitchen Tools
✔ Mixing Bowls – For combining ingredients.
✔ Whisk or Hand Mixer – For a creamy, fluffy filling.
✔ Spatula – To spread layers evenly.
✔ Glass Dish (or Springform Pan) – For setting the pavé.
✔ Refrigerator – To chill the dessert for the perfect texture.
—
4. Step-by-Step Recipe
🟡 Ingredients:
For the Base:
200g ladyfingers, vanilla biscuits, or sponge cake
½ cup fruit juice (orange juice, pineapple juice, or milk)
For the Creamy Layer:
1 can (395g) sweetened condensed milk
1 cup heavy cream (or whipping cream)
200g cream cheese or mascarpone (optional, for extra richness)
1 teaspoon vanilla extract
1 tablespoon cornstarch or unflavored gelatin (dissolved in 2 tbsp water)
For the Fruit Layer:
1 cup strawberries, sliced 🍓
1 cup pineapple chunks 🍍
1 cup mango slices 🥭
1 banana, sliced (optional) 🍌
For Topping (Optional):
½ cup grated coconut or white chocolate shavings
Fresh mint leaves for garnish 🌿
—
🟡 Instructions:
Step 1: Prepare the Base
🔹 Line a glass dish (8×8 inches) with a layer of biscuits or sponge cake.
🔹 Lightly brush with fruit juice or milk to soften.
Step 2: Make the Creamy Layer
🔹 In a mixing bowl, whisk together:
✔ Condensed milk, heavy cream, cream cheese, and vanilla extract until smooth.
🔹 Dissolve cornstarch (or gelatin) in water, then add to the mixture.
🔹 Cook over low heat for 3-5 minutes, stirring continuously until slightly thickened.
🔹 Let it cool for a few minutes.
Step 3: Assemble the Pavé
🔹 Pour half of the cream mixture over the biscuit layer.
🔹 Add a layer of fresh fruits (strawberries, pineapples, mango, banana).
🔹 Add another layer of biscuits on top.
🔹 Pour the remaining cream mixture over it.
Step 4: Add Final Touches
🔹 Decorate with fresh fruits, grated coconut, or chocolate shavings.
🔹 Cover and refrigerate for at least 4 hours (or overnight for best results).
Step 5: Serve & Enjoy!
🔹 Slice into squares and serve cold.
🔹 Garnish with fresh mint leaves for an elegant touch.
—
5. Expert Tips for the Perfect Pavé
✔ Chill for at Least 4 Hours:
🔹 This allows the flavors to blend beautifully and the texture to firm up.
✔ Use Fresh, Ripe Fruits:
🔹 Sweet and juicy fruits work best for maximum flavor.
✔ Experiment with Different Juices:
🔹 Orange, pineapple, or passion fruit juice can enhance the taste of the pavé.
✔ Make it Lighter:
🔹 Swap heavy cream for Greek yogurt for a healthier alternative.
✔ Add a Crunchy Topping:
🔹 Sprinkle granola or crushed nuts for extra texture.
—
6. Flavor Variations & Customizations
✔ Tropical Pavé: Use coconut milk & tropical fruits.
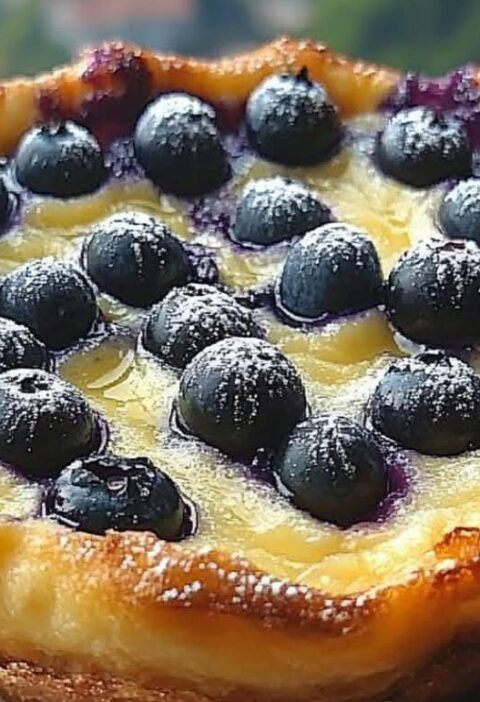
✔ Berry Bliss: Mix blueberries, raspberries, and blackberries.
✔ Chocolate Dream: Add cocoa powder or chocolate chips.
✔ Nutty Delight: Top with chopped almonds or hazelnuts.
—
7. How to Store & Serve
✔ Fridge: Store in an airtight container for up to 4 days.
✔ Freezer: Can be frozen for up to 2 months. Thaw in the fridge before serving.
✔ Best Served: Cold, straight from the fridge!
—
8. FAQs About Fruit Pavé
Q: Can I use frozen fruits?
Yes! Just thaw and drain excess liquid before layering.
Q: Can I make this dessert ahead of time?
Absolutely! It tastes even better the next day after the flavors blend.
Q: Can I make it without condensed milk?
Yes! Substitute with Greek yogurt or coconut cream for a lighter version.
—
9. Final Thoughts & Call to Action
This Special Fruit Pavé is the ultimate refreshing, creamy, and fruity dessert that will impress your family and guests! Whether you’re preparing it for a special occasion, summer treat, or meal prep, this recipe is easy, delicious, and customizable.
📌 Try this recipe and let us know your favorite fruit combination!
⭐ Leave a comment below!
⭐ Tag us in your fruit pavé photos!
⭐ Share this recipe with friends & family!
Happy Cooking! 🍍🍓🥭✨