Step-by-Step Guide to Making Liquid Fertilizer at Home
Are you looking for a sustainable, cost-effective, and nutrient-rich way to feed your plants? Making your own liquid fertilizer is a smart and eco-friendly solution. It helps you recycle kitchen and garden waste into powerful plant food—saving you money and supporting the environment.
Below is a complete, easy-to-follow guide for turning household scraps into homemade liquid fertilizer.
—
1. Collect Organic Material
Start by gathering plant-based organic waste. Avoid animal products like meat, dairy, or grease, as these can attract pests and produce unpleasant odors.
Ideal Organic Materials to Use:
Vegetable and fruit scraps
Coffee grounds and tea leaves
Grass clippings
Fallen leaves
Weeds (before they go to seed)
Tip: Chop or shred larger items to speed up the decomposition process.
—
2. Prepare the Container
Choose a sturdy container like a 5-gallon bucket with a lid. Fill the container halfway with your collected organic material. This space allows for fermentation and water movement during mixing.
Container Tips:
Plastic buckets work well
Make sure it’s clean and free from chemicals
Choose one with a loosely fitting lid to allow airflow
—
3. Add Water
Now, pour enough water to fully cover the organic materials.
Rainwater is best, as it’s chlorine-free and natural.
If using tap water, let it sit uncovered for 24 hours to allow chlorine to evaporate.
You want the mixture to look like a soupy slurry—this helps nutrients extract into the water.
—
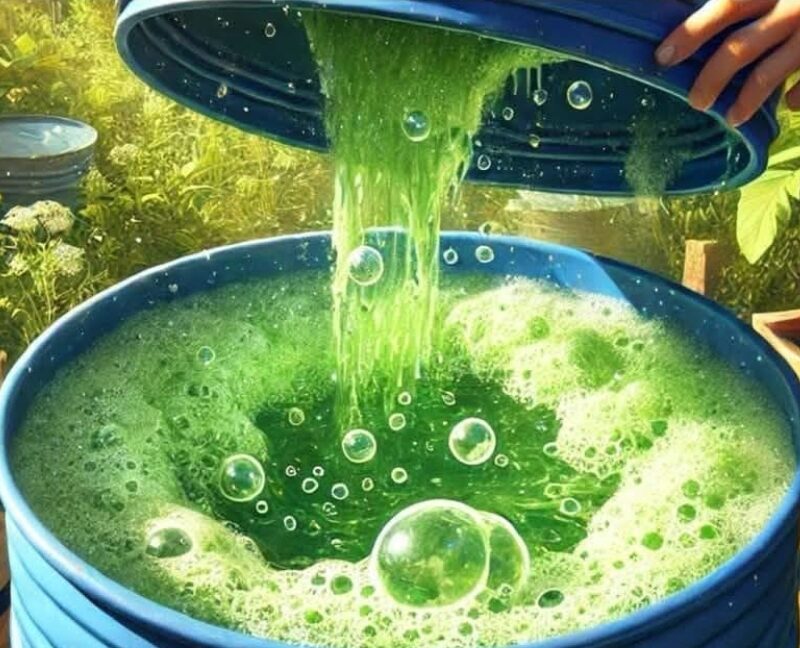
4. Start the Fermentation Process
Cover the container loosely to let gases escape, and place it in a shaded, warm location. Stir the mixture every 2–3 days to add oxygen, which helps break down the materials.
Fermentation Timeline:
Warm climates: 2–3 weeks
Cool climates: Up to 2 months
It’s ready when it has a rich, earthy smell and most solids are broken down.
—
5. Strain the Liquid
Once fermentation is complete, strain the mixture through a cloth or mesh screen into a clean container. This is your concentrated liquid fertilizer.
Note: The leftover solids can be added to your compost pile—they still contain valuable nutrients!
—
6. Dilution and Application
Before applying to your plants, dilute the fertilizer to avoid overfeeding, which can damage roots.
Dilution Ratio:
1 part fertilizer
10 parts water
Apply the diluted solution around the base of plants or directly onto the soil.
When to Apply:
Early morning or late afternoon
Every 1–2 weeks during the growing season
—
Benefits of Homemade Liquid Fertilizer
1. Eco-Friendly Gardening
Recycles waste and reduces landfill contributions
Prevents chemical runoff from synthetic fertilizers
2. Cost-Effective
Utilizes materials you already have
Saves money on store-bought fertilizers
3. Nutrient-Rich
Provides essential plant nutrients like nitrogen, phosphorus, potassium, and trace minerals
Supports healthier root systems, stronger growth, and higher yields
4. Versatile Usage
Works for vegetables, flowers, houseplants, and even trees
Can be adjusted for specific plant needs
—
Final Thoughts: Grow Greener with DIY Liquid Fertilizer
Making your own liquid fertilizer is a rewarding way to feed your garden using natural, sustainable methods. Not only does it help your plants thrive, but it also reduces waste and saves you money.
Ready to go green? Start collecting organic scraps today and turn your trash into gardening gold!
—
Want more eco-friendly gardening tips?
Subscribe to our newsletter for DIY composting guides, soil hacks, and sustainable gardening solutions!
—