Introduction: A Traditional Recipe Passed Down for Generations
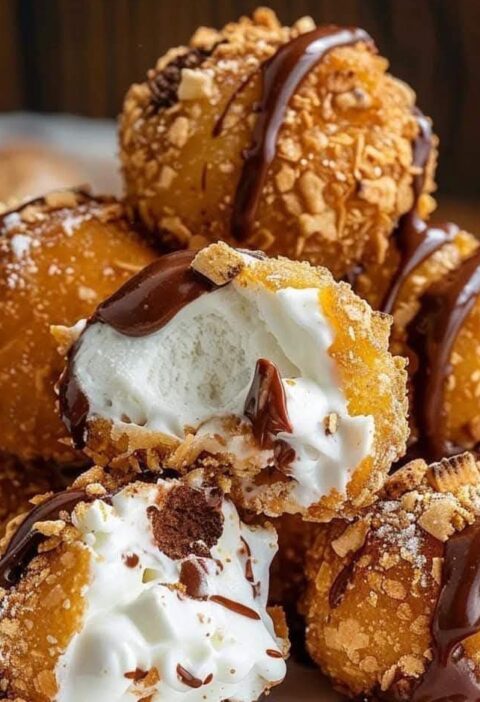
If you love crispy, golden, and flavorful snacks, these Rice Balls Stuffed with Ground Beef will be your new favorite recipe! This flourless dish is crispy on the outside, soft on the inside, and filled with savory ground beef. It’s inspired by my grandmother’s recipe, and now, everyone wants to know the secret!
✔️ No flour required – Uses rice as the base!
✔️ Perfectly crispy and golden brown
✔️ Great as an appetizer, snack, or meal
✔️ Simple, budget-friendly ingredients
Let’s get started!
—
Ingredients: What You’ll Need
For the Rice ‘Dough’
✔️ 2 cups washed rice
✔️ 3 eggs
✔️ 5 tablespoons melted butter/margarine
✔️ 1 teaspoon salt
✔️ 4 cups hot water
For the Filling
✔️ 400g (14 oz) ground beef
✔️ 1 chopped onion
✔️ Salt to taste
✔️ Black pepper to taste
✔️ Seasoning for meat (your choice)
For the Breading
✔️ 3 eggs
✔️ 2 tablespoons cornstarch
✔️ Breadcrumbs
✔️ Oil for frying
—
Step-by-Step Instructions
Step 1: Cook the Rice
Place washed rice in a pan.
Add hot water, salt, cover, and cook on low heat until fully absorbed.
Once cooked, transfer to a large bowl and let it cool slightly.
Step 2: Prepare the Filling
Heat 2 tablespoons of oil in a frying pan.
Add chopped onion and sauté until soft and translucent.
Stir in ground beef, then season with salt, black pepper, and any meat seasonings.
Cook on medium heat, stirring constantly to prevent burning.
Once cooked, set aside to cool.
Step 3: Make the Rice Dough
Add melted butter and 3 eggs to the cooked rice.
Mix well until everything is fully incorporated and you get a sticky dough.
Step 4: Shape the Rice Balls
Line a small bowl or dessert container with plastic wrap.
Add a layer of rice, shaping it against the sides of the bowl.
Spoon 1-2 tablespoons of ground beef filling into the center.
Cover with more rice, then press and shape into a dumpling or coxinha-like shape.
💡 Alternative Method: Place rice on plastic wrap, add filling, then use the wrap to close and shape into a ball.
Step 5: Bread the Rice Balls
In a bowl, beat 3 eggs and mix with cornstarch until smooth.
Dip each rice ball in the egg mixture, then coat with breadcrumbs.
Step 6: Fry Until Golden & Crispy
🔥 Heat oil in a deep pan or fryer.
Fry the rice balls in hot oil until golden brown and crispy, like coxinha.
Remove and place on paper towels to drain excess oil.
Step 7: Serve & Enjoy!
Serve warm and crispy!
Enjoy as a snack, party appetizer, or main meal.
—
Why You’ll Love This Recipe
✔️ No Flour Needed – Perfect for those looking for flour-free recipes.
✔️ Crispy & Chewy Texture – The rice creates a unique crispy outside and soft inside.
✔️ Great for Meal Prep – Make a batch and freeze for later!
✔️ Versatile – Change up the filling with cheese, chicken, or vegetables.
—
Pro Tips for the Best Rice Balls
✅ Use sticky rice – It helps bind the dough together better.
✅ Let the rice cool slightly before mixing with eggs – Prevents the eggs from cooking too soon.
✅ Press the filling tightly inside – Ensures the rice balls hold their shape.
✅ Test the oil temperature – If the oil is too hot, the outside will burn before the inside is cooked.
—
Delicious Variations
🧀 Cheesy Rice Balls – Add shredded mozzarella or cheddar to the filling.
🌶 Spicy Beef Rice Balls – Mix in chili flakes or hot sauce for a spicy kick.
🌱 Vegetarian Option – Replace beef with sautéed mushrooms or mashed chickpeas.
🥓 Bacon & Cheese – Mix crispy bacon bits & cream cheese into the filling.
—
Storage & Reheating Tips
🛍 To Store:
Keep leftovers in an airtight container in the fridge for up to 3 days.
❄️ To Freeze:
Freeze uncooked rice balls on a baking sheet.
Once frozen, transfer to a sealed bag and freeze for up to 2 months.
🔥 To Reheat:
Oven/Air Fryer: Bake at 350°F (180°C) for 5-7 minutes.
Pan-Fry: Reheat in a pan with a little oil until warm and crispy.
—
Nutritional Information (Per Serving)
These crispy rice balls are a great balance of protein, carbs, and healthy fats!
—
Final Thoughts: The Best No-Flour Rice Balls Ever!
This easy, flour-free rice ball recipe is a game-changer! Whether you serve them as snacks, appetizers, or meals, they’re guaranteed to impress. The crispy outside, soft inside, and flavorful beef filling make these absolutely irresistible!
—
🌟 Call to Action (CTA)
🔥 Tried this recipe? Let us know in the comments!
📌 Save & share this for your next cooking adventure!
🍽 Follow us for more delicious homemade recipes!
Enjoy your crispy, golden rice balls just like grandma used to make! 🍙😋🔥
