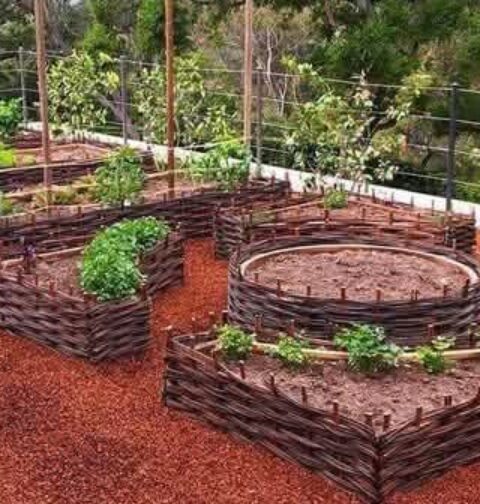
Growing peppers in recycled plastic bottles is an eco-friendly and space-saving way to cultivate fresh, organic produce at home. Whether you have a small balcony, backyard, or even an indoor space, this DIY gardening project is simple, affordable, and rewarding.
Why Grow Peppers in Plastic Bottles?
✔ Eco-friendly – Repurpose plastic waste into useful planters
✔ Space-saving – Ideal for apartments, balconies, or urban gardens
✔ Budget-friendly – No need for expensive pots or containers
✔ Perfect for Beginners – Easy, low-maintenance, and fun
—
Step-by-Step Guide to Growing Peppers in Plastic Bottles
1. Gather Your Materials
You’ll need:
✅ Large plastic bottles (2 liters or similar)
✅ Organic pepper seeds (bell peppers, chili, or any variety)
✅ High-quality potting soil (well-draining and rich in nutrients)
✅ Scissors or knife (for cutting the bottle)
✅ Nail or screwdriver (to make drainage holes)
✔ Tip: Choose transparent bottles for better light penetration or paint them to reduce algae growth.
—
2. Prepare the Bottles
Cut the top of the bottle off, approximately 10-12 cm from the top.
Use a nail or screwdriver to poke small drainage holes in the bottom.
✔ Tip: Keep the cut-off top—it can be flipped upside down and used as a mini greenhouse lid!
—
3. Prepare the Soil
Mix potting soil with compost for extra nutrients.
Fill the bottle with the soil mixture, leaving about 1 cm from the top.
✔ Tip: Use a light, well-draining soil mix to prevent root rot.
—
4. Plant the Seeds
Make small holes (about 0.5 cm deep).
Space the seeds at least 1 cm apart to prevent overcrowding.
Lightly cover the seeds with soil and press gently.
✔ Tip: Plant 2-3 seeds per bottle—you can thin out the weaker ones later.
—
5. Irrigation
Water generously after planting.
Keep the soil moist but not soggy—overwatering can cause root rot.
✔ Tip: Use a spray bottle for gentle watering in the early stages.
—
6. Provide Light
Peppers need at least 6-8 hours of sunlight per day.
If growing indoors, use LED grow lights for best results.
✔ Tip: Place bottles near a south-facing window for maximum sunlight.
—
7. Maintenance
Thin the seedlings – Once seedlings reach 5-7 cm, keep the strongest one.
Fertilize every 2-3 weeks with an organic fertilizer.
Provide support – Use small stakes or tie the plants gently to prevent bending.
✔ Tip: Epsom salt (magnesium sulfate) can help peppers develop strong roots and fruit.
—
8. Pests and Diseases
Watch for aphids, spider mites, and whiteflies.
Use insecticidal soap or neem oil to keep pests away.
Avoid excessive moisture to prevent fungal infections.
✔ Tip: Introduce companion plants like basil or marigolds to repel pests naturally.
—
9. Pollination (For Indoor Growing)
Peppers are self-pollinating, but indoor plants may need assistance.
Shake the plant gently or use a small paintbrush to transfer pollen between flowers.
✔ Tip: A small fan can mimic natural wind and help with pollination.
—
10. Harvesting Your Peppers
Peppers are ready to harvest when firm and fully colored.
Cut the peppers with a small portion of the stem attached to avoid damaging the plant.
✔ Tip: Green peppers can be picked early, but leaving them on the plant longer allows them to turn red, yellow, or orange (depending on variety).
—
Additional Tips for Success
✅ Rotate the plants every few days for even light exposure.
✅ Use a self-watering system by adding a small water reservoir at the bottom.
✅ Repurpose larger bottles for growing multiple plants together.
✅ Experiment with different pepper varieties (bell peppers, jalapeños, habaneros, etc.).
—
Final Thoughts
Growing peppers in recycled plastic bottles is an easy, sustainable, and rewarding way to cultivate your own food at home. Whether you’re a beginner gardener or an eco-conscious grower, this method saves space, reduces waste, and produces fresh organic peppers with minimal effort.
🌿 Now it’s your turn! Start growing your peppers today and share your gardening journey in the comments!