Hillbilly Pie: A Rustic, Comforting Dessert
Introduction
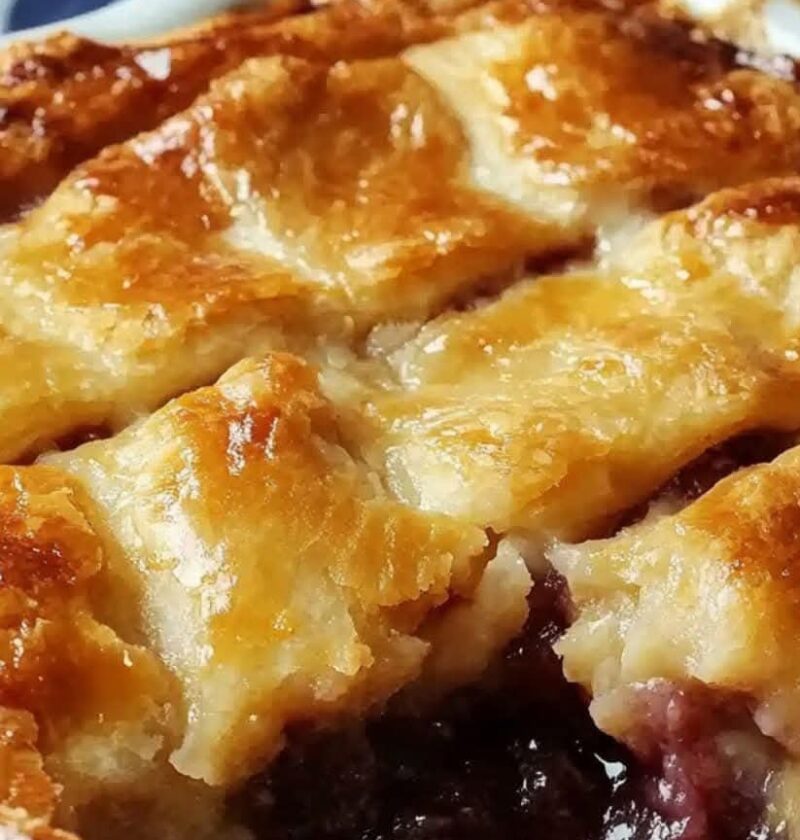
Hillbilly Pie is a timeless dessert that speaks to the heart of old-fashioned, no-fuss cooking. With its simple preparation, budget-friendly ingredients, and delightful flavors, it’s no wonder this dessert has stood the test of time. The magic lies in its transformation during baking—creating a perfectly layered cobbler-like dessert with minimal effort. Whether you’re hosting a family gathering or just craving a warm, homey treat, this recipe is a go-to comfort food for every occasion.
—
The History of Hillbilly Pie
The origin of Hillbilly Pie is rooted in the humble kitchens of the Appalachian Mountains, where home cooks relied on pantry staples to create delicious desserts. During the Great Depression, families had to stretch their budgets, often relying on ingredients they already had on hand, like flour, sugar, and canned fruits. Hillbilly Pie became a staple because of its simplicity and versatility, using a batter base that forms its own crust while baking.
Over the years, this dessert has been lovingly passed down through generations, earning a reputation as a rustic, crowd-pleasing dish. Its charm lies not only in its taste but also in the nostalgia and warmth it brings to the table.
—
Ingredients for Hillbilly Pie
1 stick (1/2 cup) unsalted butter: Adds richness and helps create the crispy crust.
1 cup self-rising flour: Forms the base of the batter and ensures a light, fluffy texture.
1 cup granulated sugar: Balances the tartness of the fruit filling and sweetens the batter.
1 cup milk: Creates a smooth, pourable batter.
1 (12 oz) can of fruit pie filling: Use your favorite flavor—cherry, apple, peach, or blueberry all work beautifully.
—
Step-by-Step Directions
1. Preheat the Oven
Set your oven to 350°F (175°C). Place the stick of butter in an 8×8-inch casserole dish or baking pan and let it melt as the oven preheats.
2. Prepare the Batter
In a mixing bowl, combine the self-rising flour, granulated sugar, and milk. Whisk until the mixture is smooth and free of lumps.
3. Assemble the Layers
Once the butter has melted, carefully remove the dish from the oven. Pour the batter evenly over the melted butter. Avoid stirring—this is key to achieving the layered effect.
4. Add the Fruit Filling
Using a spoon, evenly distribute the fruit pie filling over the batter. As it bakes, the filling will sink slightly into the batter, creating a delicious layered dessert.
5. Bake to Perfection
Return the dish to the oven and bake for about 30 minutes, or until the top is golden brown and the crust is fully set. The pie should be slightly bubbly around the edges.
6. Cool and Serve
Allow the pie to cool for about 10 minutes before serving. Serve warm for the best flavor, either on its own or with a generous scoop of vanilla ice cream.
—
Why You’ll Love Hillbilly Pie
1. Simplicity: This recipe requires no special equipment or techniques, making it perfect for beginners.
2. Versatility: You can customize the flavor by using different fruit fillings or even fresh fruits.
3. Budget-Friendly: With just a handful of ingredients, it’s an affordable dessert option.
4. Comforting and Nostalgic: Brings back memories of family gatherings and old-fashioned home cooking.
—
Tips for Perfect Hillbilly Pie
Use Fresh Fruits: If you prefer fresh fruit over canned filling, simply toss your fruit in sugar and a bit of cornstarch before layering it over the batter.
Add a Spiced Twist: Sprinkle cinnamon, nutmeg, or a touch of vanilla extract into the batter for added flavor.
Experiment with Fillings: Try combinations like mixed berries, pineapple, or even chocolate for a creative spin.
Don’t Stir: Resist the urge to mix the layers—letting them settle naturally creates the signature texture of Hillbilly Pie.
—
Variations of Hillbilly Pie
1. Peach Hillbilly Pie: Use peach pie filling or fresh peaches tossed in sugar and cinnamon.
2. Berry Bliss: Combine blueberries, raspberries, and blackberries for a mixed berry version.
3. Apple Cinnamon Pie: Add apple pie filling and a sprinkle of cinnamon for a classic fall dessert.
4. Chocolate Lovers’ Delight: Swap the fruit filling for chocolate chips and marshmallows for a s’mores-inspired treat.
—
Serving Suggestions
Classic Pairing: Serve with a scoop of vanilla ice cream or a dollop of whipped cream.
Brunch Delight: Enjoy Hillbilly Pie as a sweet addition to a brunch spread.
Holiday Favorite: Make this dessert a staple at Thanksgiving or Christmas gatherings.
—
Frequently Asked Questions
1. Can I use regular flour instead of self-rising flour?
Yes, but you’ll need to add 1 1/2 teaspoons of baking powder and 1/4 teaspoon of salt for every cup of all-purpose flour.
2. Can I make this pie ahead of time?
Hillbilly Pie is best enjoyed fresh, but you can prepare it a few hours in advance. Reheat it in the oven before serving for that just-baked taste.
3. How should I store leftovers?
Store leftovers in an airtight container in the refrigerator for up to 3 days. Reheat individual servings in the microwave or oven.
—
Nutritional Information (Per Serving)
Calories: ~250
Carbohydrates: 35g
Protein: 3g
Fat: 10g
—
A Dessert Worth Sharing
Hillbilly Pie is more than just a dessert—it’s a slice of nostalgia and comfort. Its rustic charm, easy preparation, and irresistible flavor make it a hit with both kids and adults alike. Whether you’re introducing it to a new generation or reliving cherished memories, this dessert is sure to become a favorite in your household.
Gather your ingredients, preheat your oven, and treat yourself to the simple joy of Hillbilly Pie. You won’t regret it!
