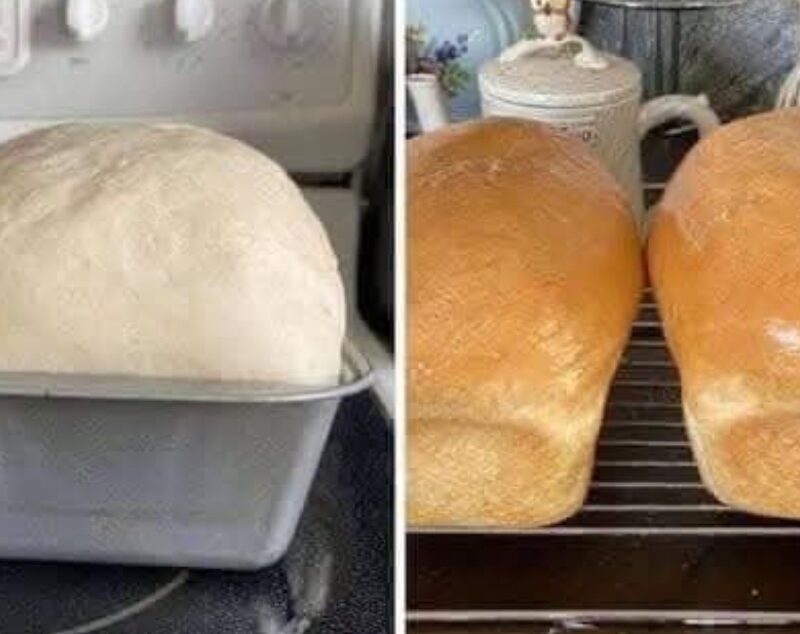
If you’ve struggled with bread recipes in the past, this simple and foolproof recipe is perfect for you. It’s quick, easy to make, and yields two delicious loaves with minimal effort. Perfect for sandwiches, toast, or enjoying with butter, this bread is a versatile staple for any home.
—
Ingredients
2 cups warm water (around 110°F)
1/4 cup sugar
1 1/2 tablespoons yeast (active dry yeast)
1 1/2 teaspoons salt
1/4 cup vegetable oil
5 1/2 cups all-purpose flour
—
Instructions
1. Activate the Yeast
1. In a large bowl, dissolve the sugar in the warm water.
2. Add the yeast and stir gently. Allow the mixture to sit for 5-10 minutes, or until it becomes frothy. This process is called proofing and ensures your yeast is active.
—
2. Mix the Dough
1. Stir the vegetable oil into the yeast mixture.
2. In a separate bowl, whisk together the flour and salt.
3. Gradually add the dry ingredients to the wet ingredients, one cup at a time, stirring after each addition. Continue until a soft dough forms.
—
3. Knead the Dough
1. Turn the dough out onto a lightly floured surface.
2. Knead for 3-5 minutes, or until the dough is smooth and elastic.
—
4. First Rise
1. Lightly oil a large bowl. Place the dough in the bowl and turn it over to coat all sides with oil.
2. Cover the bowl with a clean kitchen towel or plastic wrap and let the dough rise in a warm place for 1 hour, or until it has doubled in size.
—
5. Shape the Loaves
1. Punch down the dough to release air bubbles.
2. Divide the dough into two equal portions.
3. Shape each portion into a loaf and place them into greased bread pans.
—
6. Second Rise
1. Cover the loaves with a clean towel and let them rise for an additional 30-40 minutes, or until they have doubled in size again.
—
7. Bake the Bread
1. Preheat your oven to 350°F (175°C).
2. Bake the loaves for 30 minutes, or until the tops are golden brown and the loaves sound hollow when tapped.
—
8. Brush with Butter
1. Remove the bread from the oven and immediately brush the tops with melted butter.
2. Allow the loaves to cool slightly before slicing.
—
Tips for Success
1. Check Water Temperature: Ensure the water is warm but not too hot (around 110°F) to properly activate the yeast without killing it.
2. Kneading Technique: Use the heel of your hand to stretch and fold the dough. This develops gluten, giving the bread its structure.
3. Use Fresh Yeast: Expired or inactive yeast won’t rise properly. Always check the expiration date.
4. Create a Warm Environment: If your kitchen is cold, place the dough near a slightly warm oven or use the proofing setting if your oven has one.
5. Customize: Add herbs, cheese, or seeds to the dough for added flavor.
—
Storage Instructions
Room Temperature: Wrap the bread in plastic wrap or store it in an airtight container for up to 3 days.
Freezing: Wrap loaves tightly in plastic wrap and aluminum foil before freezing. Thaw at room temperature when ready to use.
—
Why You’ll Love This Recipe
Beginner-Friendly: Straightforward steps make this recipe perfect for those new to bread baking.
Quick Prep: With only a few minutes of hands-on work, the rest of the time is for rising and baking.
Versatile: Use this bread for sandwiches, toast, or even as a base for garlic bread.
