Why Make Your Own Cheese?
Crafting your cheese at home is not only a fun and rewarding activity but also offers several advantages, especially for those in their 50s and beyond:
1. Health Benefits: Homemade cheese allows you to control the ingredients, ensuring it’s free from additives and preservatives, making it a healthier option.
2. Taste and Quality: You can customize the flavor to your liking and experiment with various types of cheese, from creamy ricotta to tangy goat cheese.
3. Cost-Effective: Making your cheese at home is often more budget-friendly than buying artisanal cheeses, saving you money in the long run.
4. Creative Outlet: Cheese-making is a creative endeavor that lets you explore your culinary skills and experiment with flavors.
Ingredients You’ll Need
Before we dive into the cheese-making process, let’s gather the essentials:
1. Milk: You’ll need 1 liter of fresh whole milk. Opt for high-quality milk without additives or ultra-pasteurization for better results.
2. Yogurt: Choose a plain, unsweetened yogurt containing live active cultures. One small cup (about 150 grams) will do the trick.
3. Lemon: Half a lemon will provide the necessary acidity to curdle the milk.
4. Salt (Optional): A pinch of salt can be added for flavor, but this is entirely optional.
The Simple Cheese-Making Process
Now that you have your ingredients ready, let’s start crafting your cheese:
Step 1: Heat the Milk
Pour 1 liter of milk into a large, heavy-bottomed pot and heat it slowly over low-medium heat. Stir occasionally to prevent the milk from scorching. Use a thermometer to monitor the temperature until it reaches 85-90°C (185-194°F).
Step 2: Add the Lemon
Once the milk reaches the desired temperature, squeeze the juice from half a lemon into it. Stir gently and let it sit for a few minutes. You’ll notice the milk start to curdle as the lemon juice acidifies it.
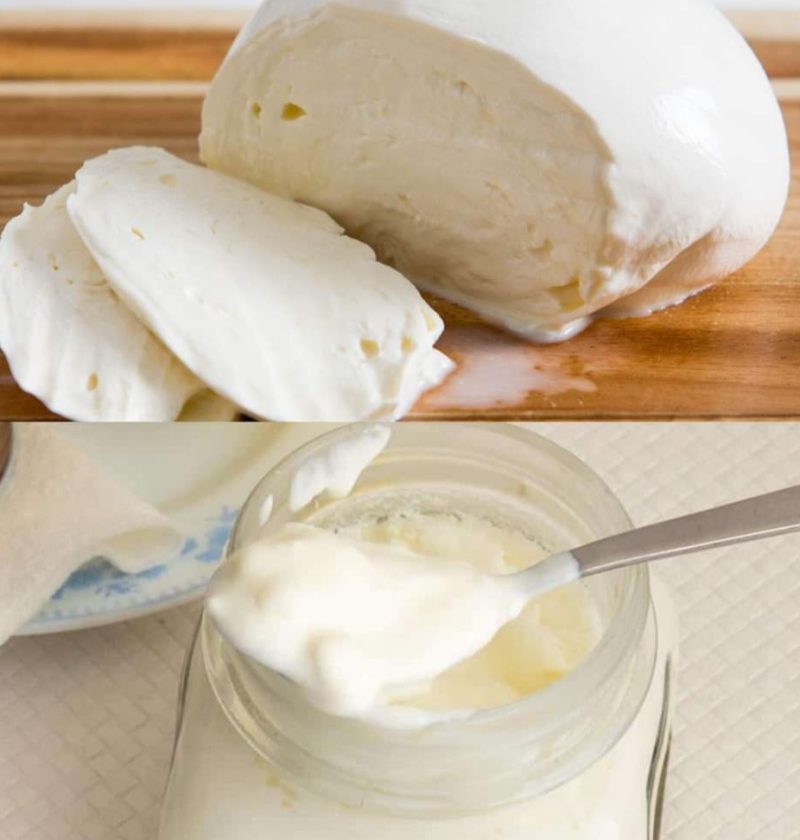
Step 3: Strain the Curds
Place a fine-mesh strainer or cheesecloth over a bowl or another pot. Pour the curdled milk through the strainer to separate the curds (the solids) from the whey (the liquid). You can save the whey for other culinary uses or discard it.
Step 4: Salt (Optional)
If desired, add a pinch of salt to the curds and mix it in for flavor.
Step 5: Shape Your Cheese
Gather the curds together and shape them into a ball or any desired form. You can get creative and add herbs, spices, or even dried fruits to the cheese for extra flavor.
Step 6: Let It Rest
Place your formed cheese on a plate or in a container and let it rest in the refrigerator for a few hours or overnight to firm up.
Conclusion
Congratulations! You’ve just unlocked the magic of homemade cheese with just 1 liter of milk, 1 yogurt, and half a lemon. Enjoy your flavorful creation with crackers, bread, or your favorite dishes. The beauty of making your cheese at home is that you can experiment with different flavors and textures, adding a touch of creativity to your culinary adventures. So, embrace this delightful journey into cheese-making, and savor the delicious rewards that come with it. Age is just a number, and it’s never too late to explore new horizons in the kitchen!